
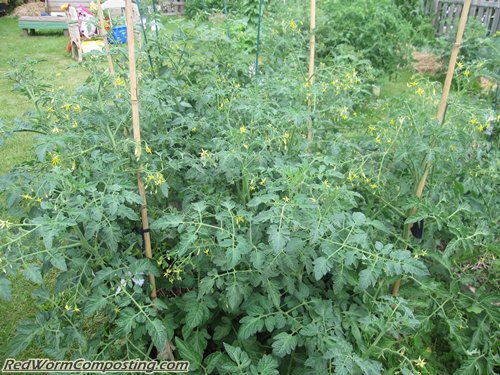
Recent shot of the tomato boxes – hard to see where one ends and the other one starts!
I am definitely overdue for an update on my wooden box tomato gardens. After a bit of a rough patch early on (having to replant one of the boxes), things have been progressing very nicely!
I must say that watching your garden plants grow over time can be a little like watching your children grow (but in fast motion – haha!) – you don’t realize how far they’ve come until you look at old pictures! Here is a shot I took shortly after I added tomato plants to one of the boxes.
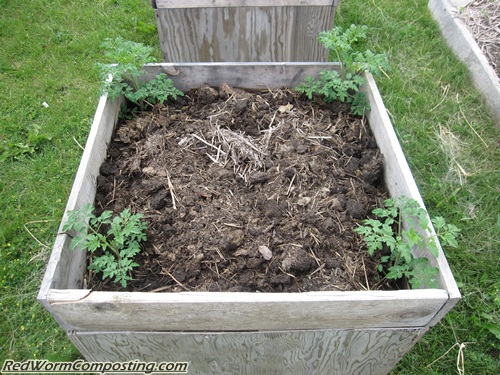
What the tomatoes looked like shortly after being planted
As I alluded to in another post, I’ve been finding that, for the most part, tomatoes seem to do much better in bigger containers when you are attempting to do a plant growing / worm composting combo – and it makes sense, really. In my bucket systems, I have a sneaking suspicion that the aggressive roots of the tomato plants have either forced most of the worms out of the system, or perhaps even killed them, thus benefiting from some extra nutrition! We shall see when I finally remove the plants from the buckets. That being said, I am still finding LOTS of worms in my hanging systems, so I may be a bit off base with this notion – should have a better idea once we’ve reached the end of the growing season.
What’s interesting, is that there are four tomato plants in each of the wooden boxes, yet I don’t believe the volume of each box would be much more than four times the size of one of the buckets. I think what helps a LOT (as far as the worms are concerned) is the fact that there is a nice bit of space in the middle near the top, where waste materials are being heaped up. This seems to serve as a zone in which the worms can thrive without being evicted by tomato roots!
😆

A side view of the box gardens
As for feeding the systems – early on I was adding alpaca manure, but since then I’ve been adding mostly food waste (in a similar manner as described in my recent vermicomposting trench post – i.e. basically just tossing in a ball of frozen scraps and cardboard). The worms REALLY seem to be enjoying this food source, and I’ve been very impressed with the densities of worms present in the middle of the beds where it’s been addded.

Just some of the MANY Red Worms living in the middle of the tomato boxes
The “Sweet Million” plants have already produced a few tasty cherry tomatoes (field tested by yours truly – haha!), but I am still waiting on the grape tomatoes in the other system (and elsewhere, for that matter). While the vegetative grown of all the plants has certainly been impressive, the jury is still out on fruit production. I am at least happy to see that there are LOTS of flowers on the plants. Hopefully we’ll get a good crop!
You can expect to see another update a little later in the summer!
8)
A bit of wood ash added round the base of the plants and washed in well, might give the potash boost you need to get the plants flowering and fruiting.
Hi Catherine,
Thanks for sharing your thoughts!
Apart from not having any wood ash myself, I think I’d be nervous about adding it to a system containing worms. I think it can be fairly caustic when moistened (forms potassium hydroxide or something like that?).
I’ve been thinking a lot about the types of food wastes that might be good sources of phosphorus and potassium. I know bananas are high in potassium, so perhaps their peels would be a good source as well?
Anyway – we’ll see how everything pans out. Looks good so far!
8)