
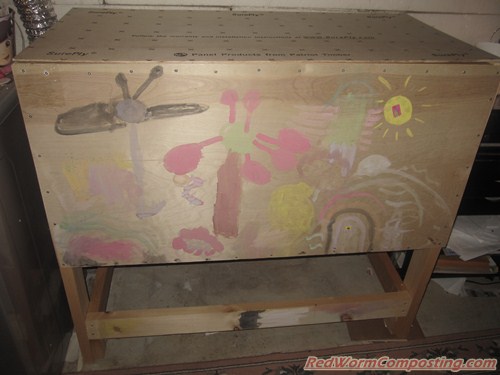
I’ve decided to call my VermBin48 “The Beast” (yep, I’m that cool! Even cooler when you consider the fact that “The Beast” is decorated with a rainbow of pastel colors). As I may have mentioned in my last VB48 post, this is the largest indoor system I’ve worked with, and I think it might have the potential to get a little unruly or even out of control if I’m not careful!
😯
Part of the reason I’ve been dragging my feet a little in terms of getting the system up and running is that I’ve been dealing with a new (and somewhat frustrating) fly pest in my indoor bins. The last thing I would want to have happen is for the new VB48 to become infested with these things before I even get the chance to stock it with worms!
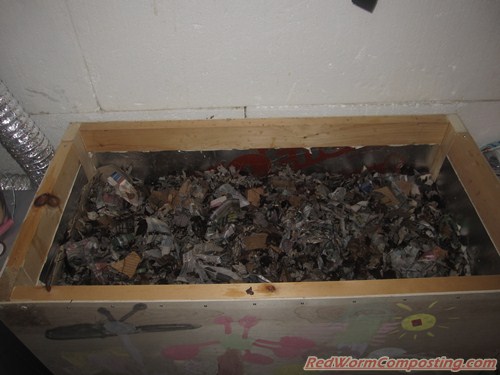
The show must go on, though – so yesterday I finally decided to really get things rolling. I should mention that prior to yesterday I had been continuing to shred up newsprint and cardboard for the bin, so I had a nice thick base layer of these materials.
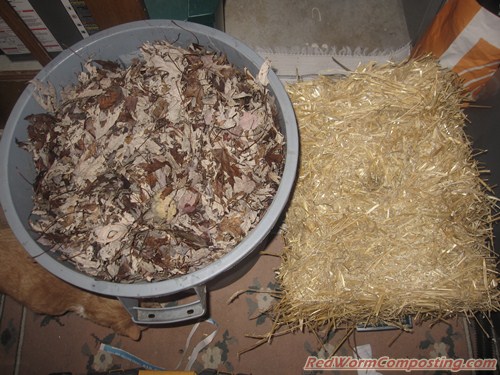
Since I have access to lots of fall leaves these days, I decided that would be a great material to mix in with the paper wastes. These older brown leaves are essentially like a “living material”, helping to inoculate the bin with lots of aerobic decomposer microbes, thus helping to kickstart microbial activity in the system. The worms just generally seem to love old leaves (likely due to all those microbes), so there will certainly be some food/habitat value as well.
For my initial “food” supply (apart from the leaves) I decided to use three spaghetti squash (from my garden) that were no longer fit for consumption.
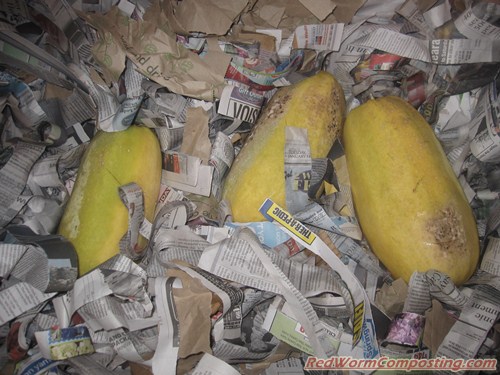
Of course, I wasn’t just going to leave them the way they were. It was important to “optimize” the material for microbial invasion. So, I had some fun (perhaps too much fun) chopping them up with a knife! I was actually surprised by how effective (and fast) this approach was.

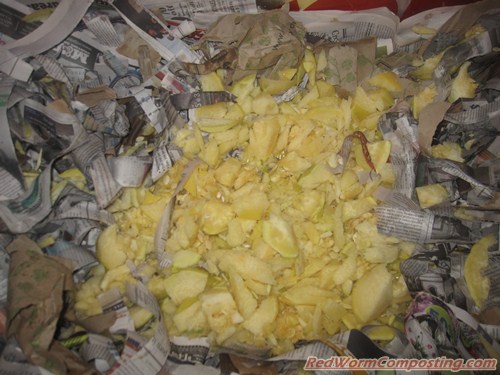
Once the squash were chopped up well, I made sure to spread them around in the bedding a fair bit.
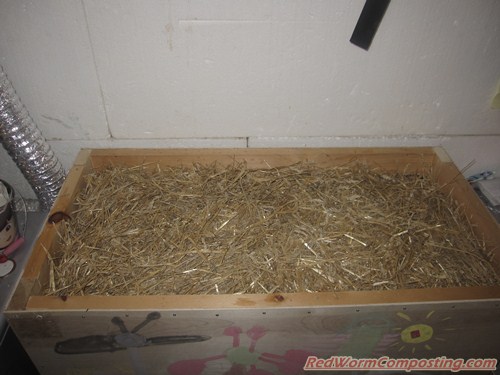
Next, I added a small garbage can full of brown fall leaves, collected from the heap still sitting out on my lawn (originally raked up for the kids to jump in). I made sure to grab most of them from the lower reaches of the pile where there is more moisture – and likely more microbial activity. With the leaves added, the overall level of material in the bed was up quite close to the top – but I still had plenty of room for one last (important) material…Straw!
I wanted to make sure I had a really thick layer of it so as to help keep fly invasion to a minimum, and to help keep conditions down in the composting zone as moist as possible.
Speaking of moisture, the “twist” I’ve decided to add to this project (you know me and my “twists”! lol) is the use of European Nightcrawlers – and perhaps even a mix of Euros and Reds a bit later on. Normally I recommend that people DON’T use Euros in flow-through systems since they prefer a habitat with a higher moisture content, and they tend to hang out near the bottom of whatever system they are in. But what better way to really test this out than with my new VB48? Should be fun!
8)
The combination of thick false bottom, water-impervious insulation walls, and thick layer of straw over top should definitely help to make the system a lot more Euro-friendly.
We shall see, I guess!
After setting everything up, I tracked down my short-stemmed compost thermometer and inserted it into the upper straw layer (pushing it down a fair bit so as to get close to the composting zone). I am very interested to see how warm the system gets over the next few days. Initially, the reading was about 15 C (59 F) – but when I took a picture this morning it was starting to creep up closer to 20 C (68 F).

I added some alfalfa powder (crushed alfalfa cubes) this morning, along with another good dose of water – so I think that will definitely help to get things moving along even faster.
As for the worms – I won’t likely be adding them until sometime towards the end of next week. I definitely want to make sure the habitat is suitable for them (nice and moist, not overheating etc) – so I don’t mind being patient.
Stay tuned!
8)
Hey Bentley,
I noticed that on your compost thermometer it says “Worm Factory” so I’m assuming that you got that as an accessory with the stackable bin system… Do you know where one might get a (low-priced!) long-stem thermometer? I’m thinking of starting up a thermophilic hot compost bin as one of my projects and it would be neat to monitor the temperature – especially if I can get my hands on some horse manure and really get things cooking!
Thanks!
Yes indeedy, Christian – this little guy came with my WF-360. I do have a long-stemmed one as well, but it’s getting pretty old and beat up (and it’s hiding somewhere outside! lol) so I think I’ll be buying a new one before too long!
I got my long-stemmed thermometer from Vesey’s for just under $20.
Looks like your enjoying your new toy. After looking at how full you filled yours up, that might explain why mine took off kinda slowly…I think I’ll go fill mine up some more.
Have a great weekend!
Bentley…
Question about your fabulous bin and why you need to fill it all the way up. Why not start with a shallower layer and add to it as you need to dispose of kitchen scaps and the like? My feeling is that the less you give them to eat, the more they will eat what you give them. It seems that a full bin leaves little room to add scraps…a la your Worm Inn.
JOHN/MARIN
Keep in mind that this is my bin preparation stage – not necessarily exactly the way things will be when the worms get added. You might be surprised by how much materials can settle.
Lots of materials CAN be great for extra heating, though, John – so if you’re wanting to keep temps elevated somewhat you may want to add more stuff – just make sure it’s mostly bedding.
Marin – if faced with the option of chomping on tasty food wastes or fall leaves, my hunch is that the Euros will happily go for the scraps. Leaves are more of a habitat material than a food material – if anything, having loads of them will HELP since I’ll have plenty of locations to bury my wastes (although I’ll likely be going easy on the feeding while I’m dealing with the fly situation).
You could call the bin “the Beaut” with all that delicious original artwork decorating it 🙂 🙂
Bently,
I too used to have bad fly problems until I started using the vermbin 48. I installed some screen from an old door under my vent cover and made the lid fit tightly. I had to install a latch at the widest spot when the lid was closed to pull it down tightly. Going on 3 months and I haven’t seen a single flying insect. Hope it helps
Mike Daugherty